The buildings of one city block are done- all that is needed to finish them off is basing. The buildings were base coated with Rustoleum spray primer. I wouldn't use it again as the MDF soaked it up big time; it took several coats. Other sprays seem to fair better. Paint was craft paint from the Cermacoat and Americana ranges, thinned with either Golden Glazing Liquid/H2O or Acrylic Flow Release/H2O depending on application. The buildings were then hit with a thinned dark wash to blend the colours together a bit and bring out the recesses that filled with paint. The decals come from eBay seller largemouthlodge.
Monday, 15 January 2018
Sunday, 7 January 2018
Jan. 7th update: painted canal walls; progress on the rural side of the canal
More work done on the table surface. My favourite "dirt" recipe of Sculptamold and brown paint applied to the rural side of the board, including the barn's base followed by a dry brush of Desert Sand and a diluted black wash:
The stone work along the sides of the canal are also done now. The textured sheet is Plas Craft Games textured stone sheet. The edges of the stone are a little soft which means inking and heavy handed drybrushing do not result in good contrast: some care has to be taken otherwise the definition gets blurred.
The rest of my time has been taken up with priming some of the building features that haven't been painted yet: stairs and awnings for the two shops. Our next day of play testing scenarios is February 17th. After that is Trumpeter's Salute in March.
Sunday, 31 December 2017
Dec.31st update: urban side painted; building interior walls painted
I successfully met my goal of getting the table and buildings to a usable stage (ie everything with at least one coat of paint) and then some. All the interiors of the buidings were finished to this stage: walls papered and/ or painted but floors yet to be done.
I decided to try carpet on one floor:
The table surface had lines brushed into it and cracks scribed as well as areas where the concrete had broken away revealing paved over stonework.
Next I laid down a few coats of paint for the canal water followed by several coats of thinned Gloss Modge Podge. I then spent waaay to much time painting the concrete; I think a better result could have been achieved with less effort. Although it turned out ok it's a little flat - it needs some texture so I am going to add some rubble here and there.
The Ramshackle Barn is also nearly complete. Just the base to be finished.
We gave the table a run through on Saturday- the scenario was A Race Against Time with four gangs competing: Cowboys, Gangsters, Cultists and Madalorians. The Mandalorians proved to be tough nuts and won the day.
David has spent a small fortune on diecast cars to add character to the table and the scenarios. I hope to add more street 'furniture' soon: lamp posts, fire hydrants man hole covers- that sort of thing. The table was looking a little sparse until the cars got added then it got really crowded.
Next on the agenda is to work on the 'other side' of the canal/tracks, get the floors into the buildings and finish off the exterior of the buildings including the stairs, awnings and some decals.
Monday, 18 December 2017
My goal for this table on the 30th is to have the interior walls finished of the buildings, the exterior walls primed and all parts of the table surfaced primed (no exposed foam, wood or plastic). So far progress is good: the exteriors of the buildings have all been primed and half of the buildings have the interior decorating done. For the majority of them the floors will have to wait until January but it is a simple matter of painting and dropping them in. I have most of them cast- I think I just need two more.
The table is another matter though- aside from the foam glued in place there has been no progress. My plan is to finish the interiors between now and Christmas Eve and then focus on the table between Christmas day and Dec 30th. Afterwards I can continue at a less stressful pace as Trumpeter's Salute is not until March.
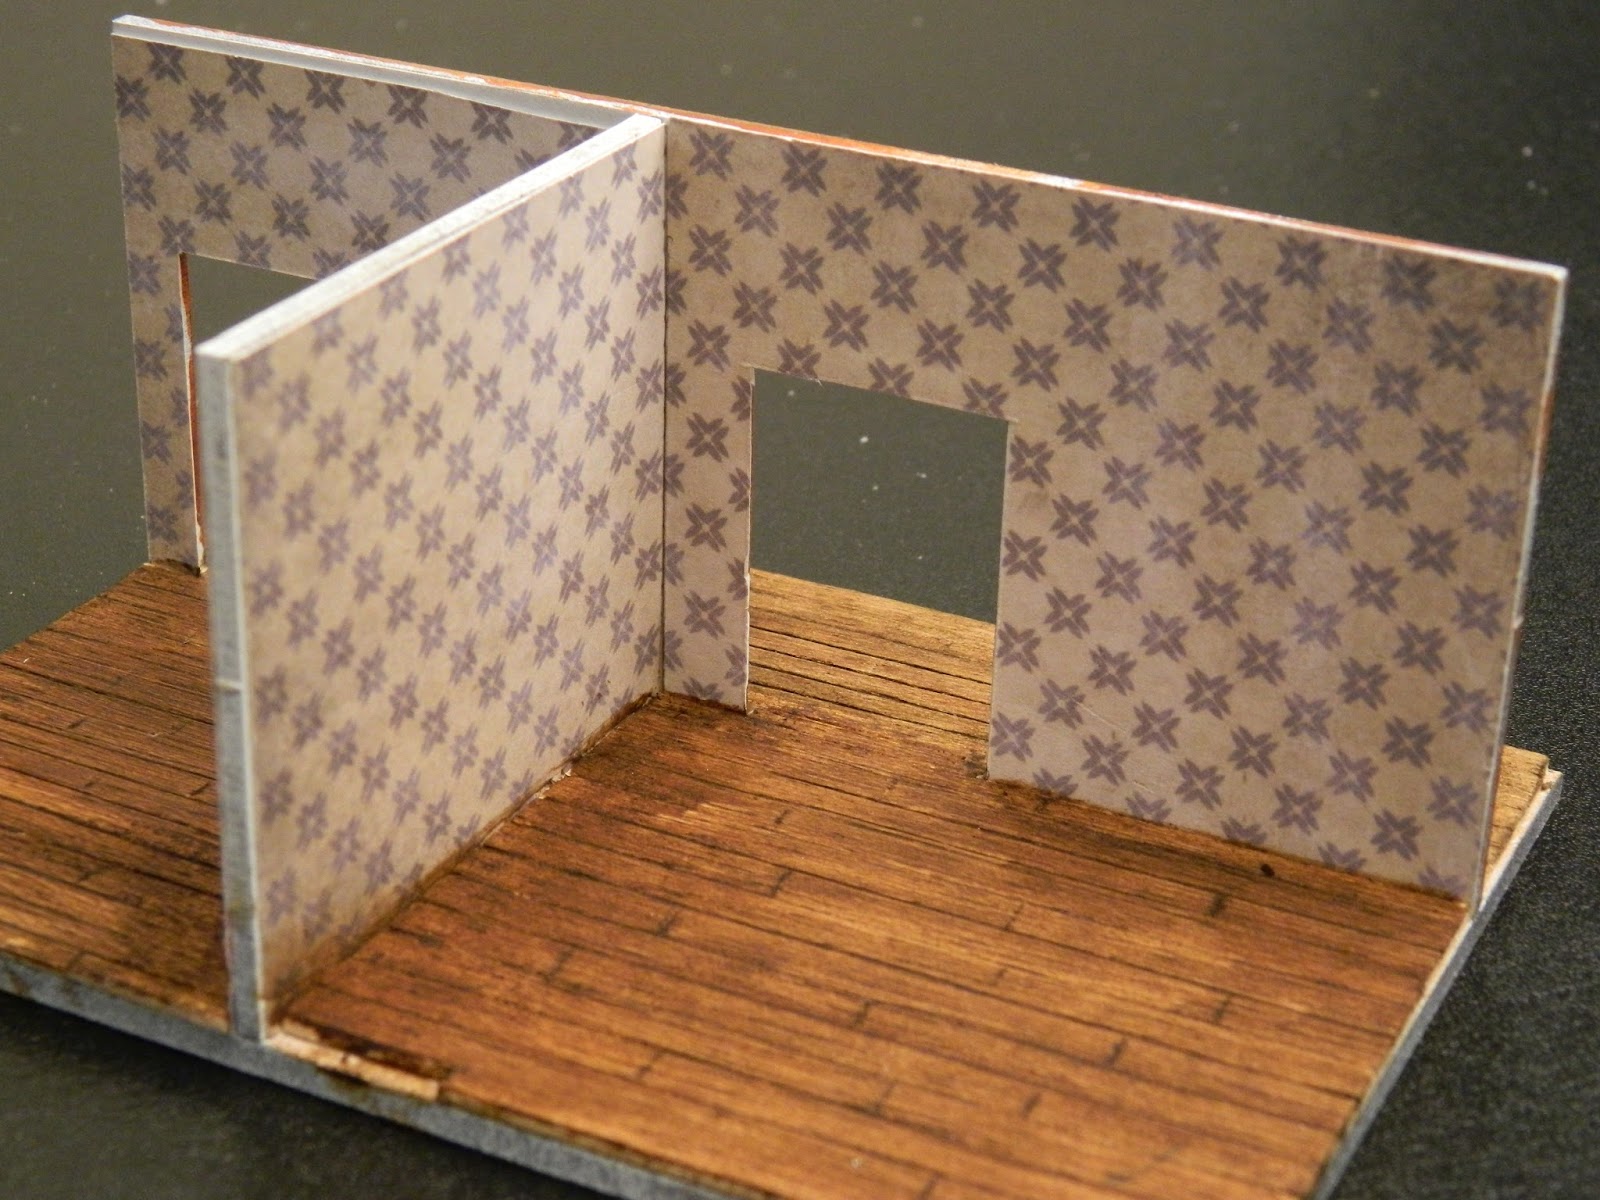
These pictures give you an idea of what the interiors will look like. This building has a shop in the bottom floor and apartments above.
Some will have a half wall of paper like the building above, others full wallpaper, some will have all paint.
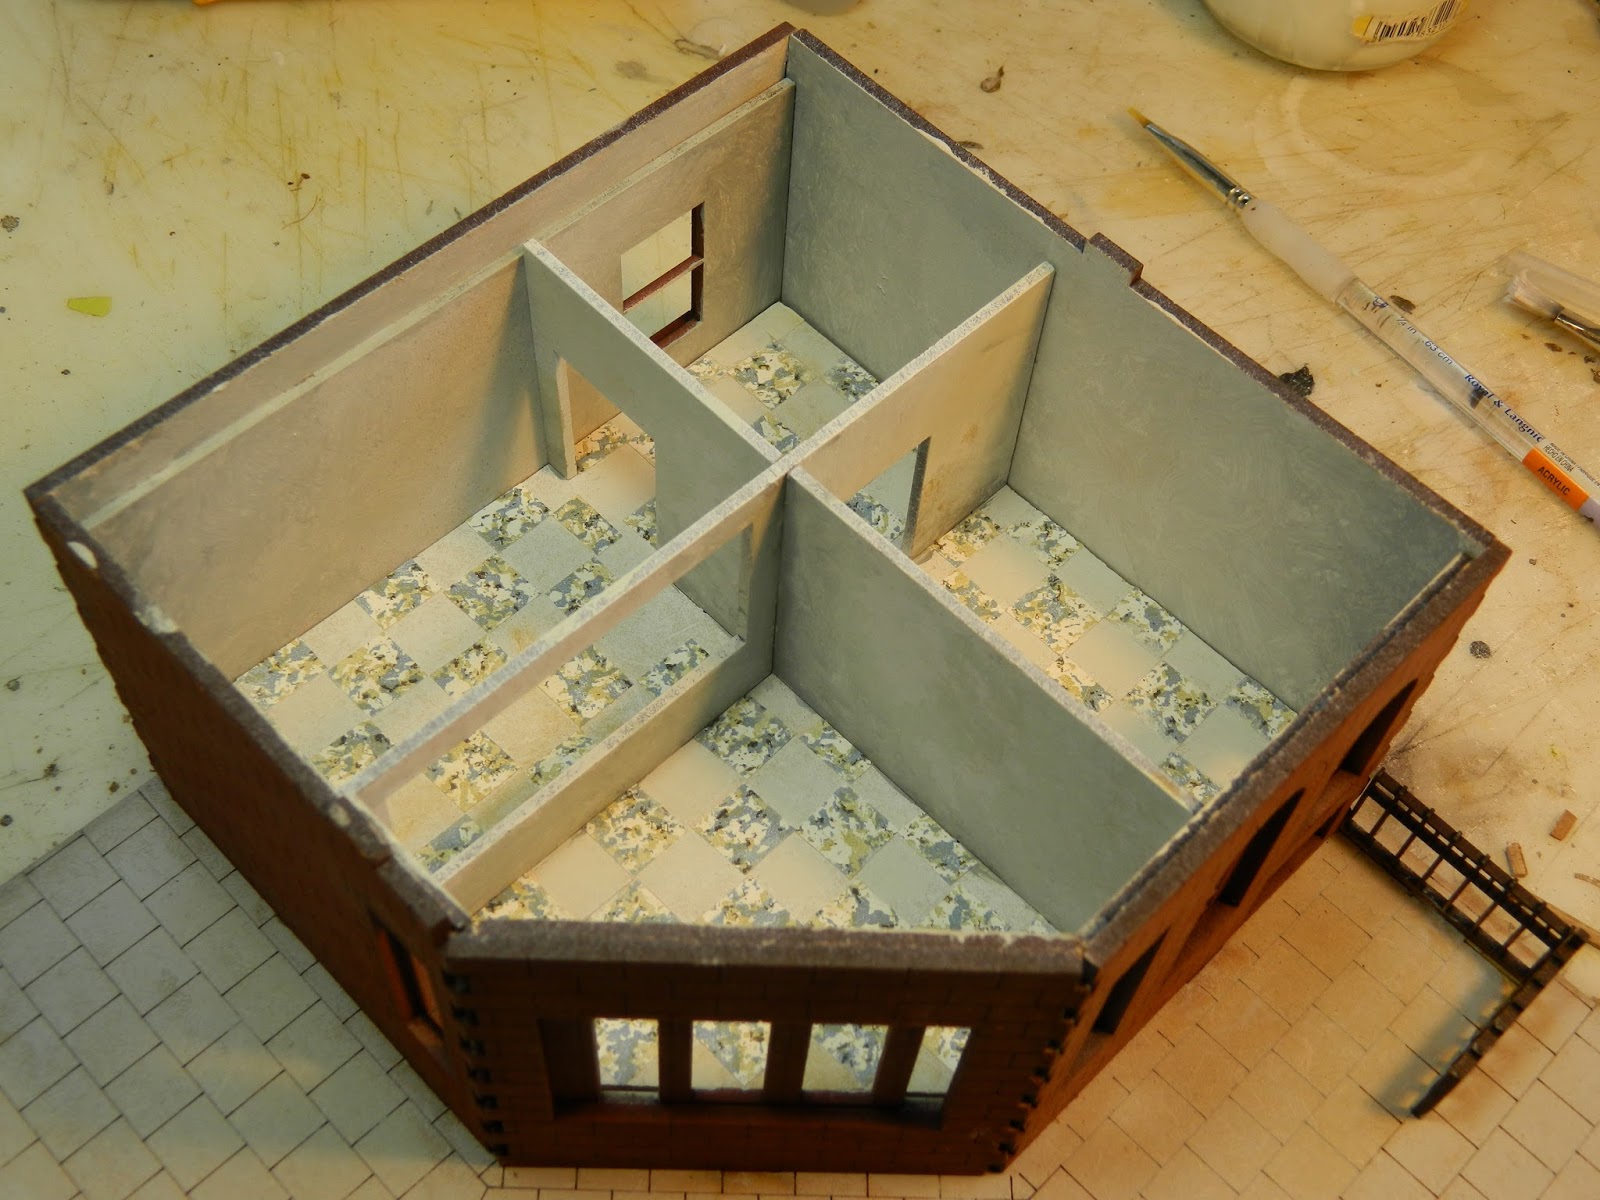
For the corner store I decided on a tile floor. My prefernce would have been for some Plastruct or Evergreen square tile sheet but the local hobby store was out. So I settled for cutting some squares out of patterned drawer liner; it reminded me of VC tile you see in schools and hospitals.
Earlier in the week I received this package from Warlord Games:
The table is another matter though- aside from the foam glued in place there has been no progress. My plan is to finish the interiors between now and Christmas Eve and then focus on the table between Christmas day and Dec 30th. Afterwards I can continue at a less stressful pace as Trumpeter's Salute is not until March.
These pictures give you an idea of what the interiors will look like. This building has a shop in the bottom floor and apartments above.
Some will have a half wall of paper like the building above, others full wallpaper, some will have all paint.
For the corner store I decided on a tile floor. My prefernce would have been for some Plastruct or Evergreen square tile sheet but the local hobby store was out. So I settled for cutting some squares out of patterned drawer liner; it reminded me of VC tile you see in schools and hospitals.
The second floor (probably where the owner lives) is done in a similar fashion to the other buildings.
The buildings at their various stages of work:
Many of the buildings have exterior stairs or awnings; these will have to wait until January. I also have my eye on some lamp posts and manhole covers. David has been busy collecting vehicles so the streets will not look completely deserted.
The barn will go on "the other side of the tracks" and the village house will be for the jungle table if I have time.
Monday, 11 December 2017
The Sarissa buildings are all assembled; priming, painting and detailing are underway. Most of the buildings have some interior walls and the floors are plain (ie. un-textured). I decided to scribe a wooden floor into some balsa wood and glue that in place. I wallpapered some of the interior walls using patterned paper that my daughter bought at Michael's. I am not sure of the brand but it comes in a large pad.
.... and dropped into place:
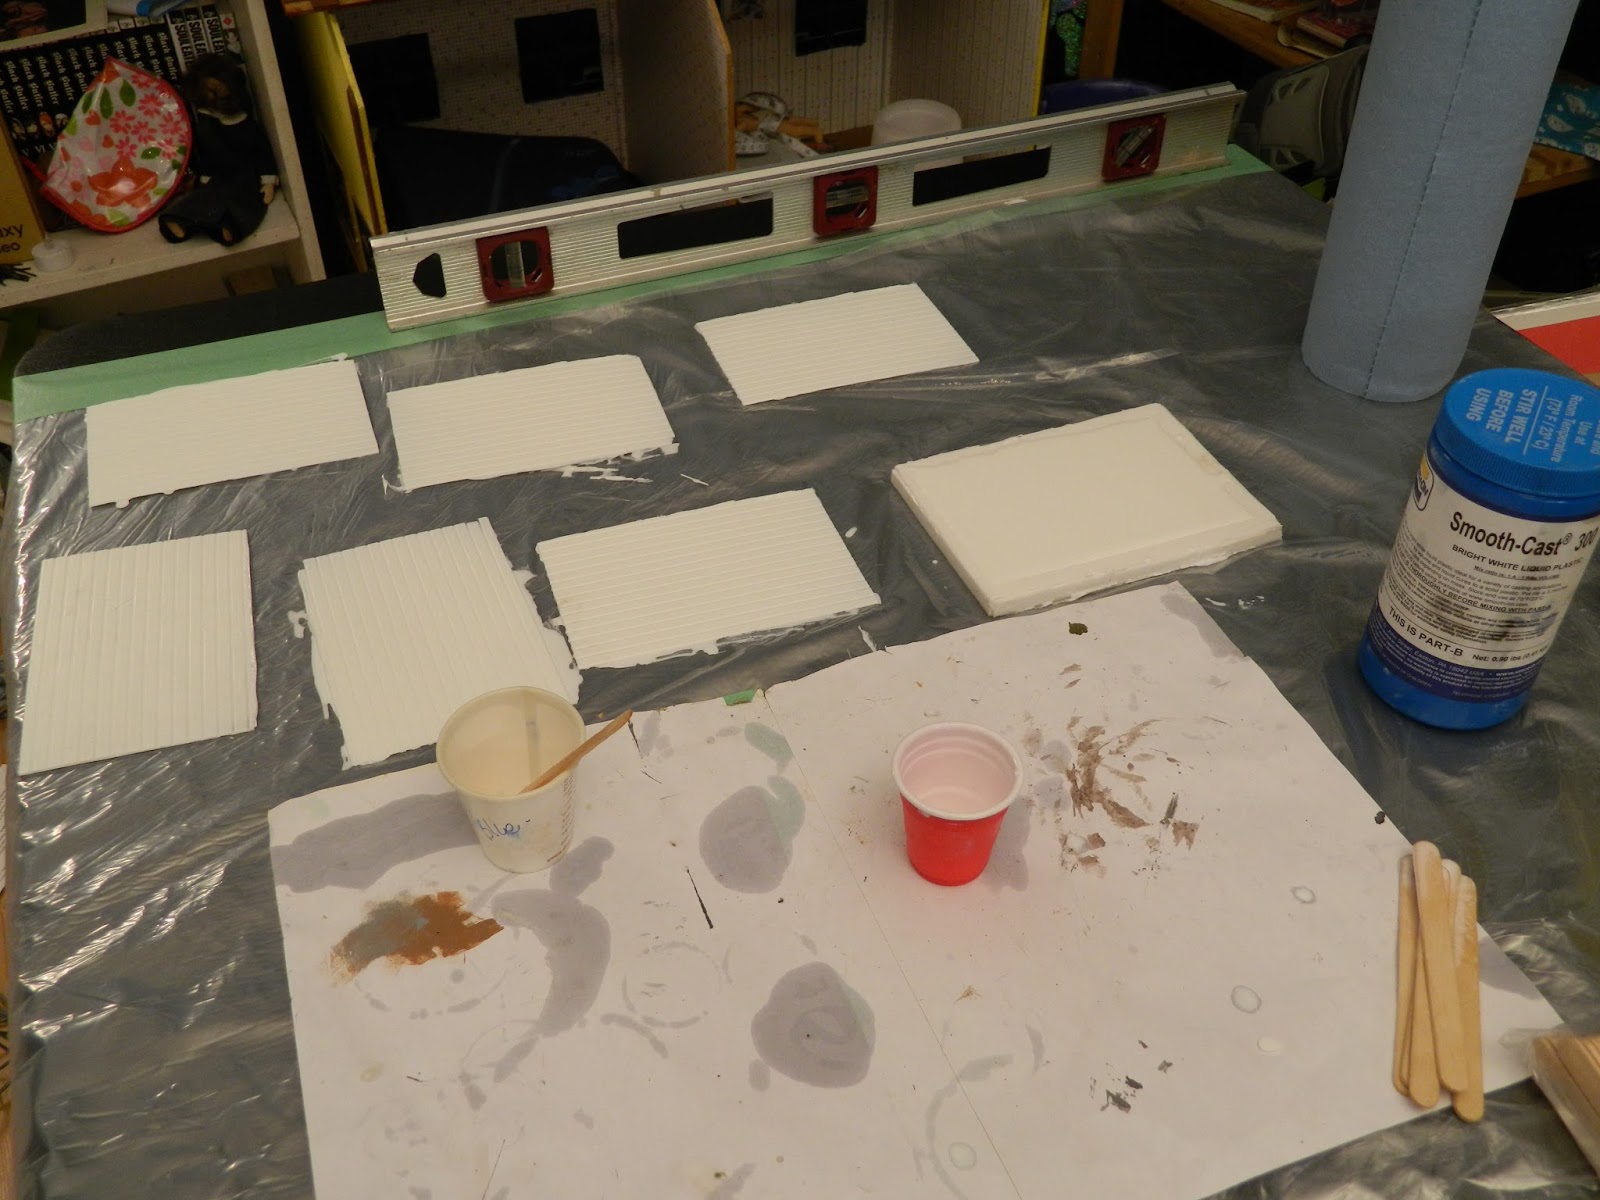
After scribing that floor I realised I was going to have to do it 14 more times(!?!) so I made use of some Plastruct O scale siding I had laying around. After scribing lines it so that it resembled wood flooring I made a mould of it...
... and started casting:
Here is the first one painted...
The finish is a little yellower that I would like; the next one will have more orange tones.
The inside and outside of one building completely done. I will do the bases on all the buildings once I have settled on how I am going to do the table surface itself.
Sunday, 3 December 2017
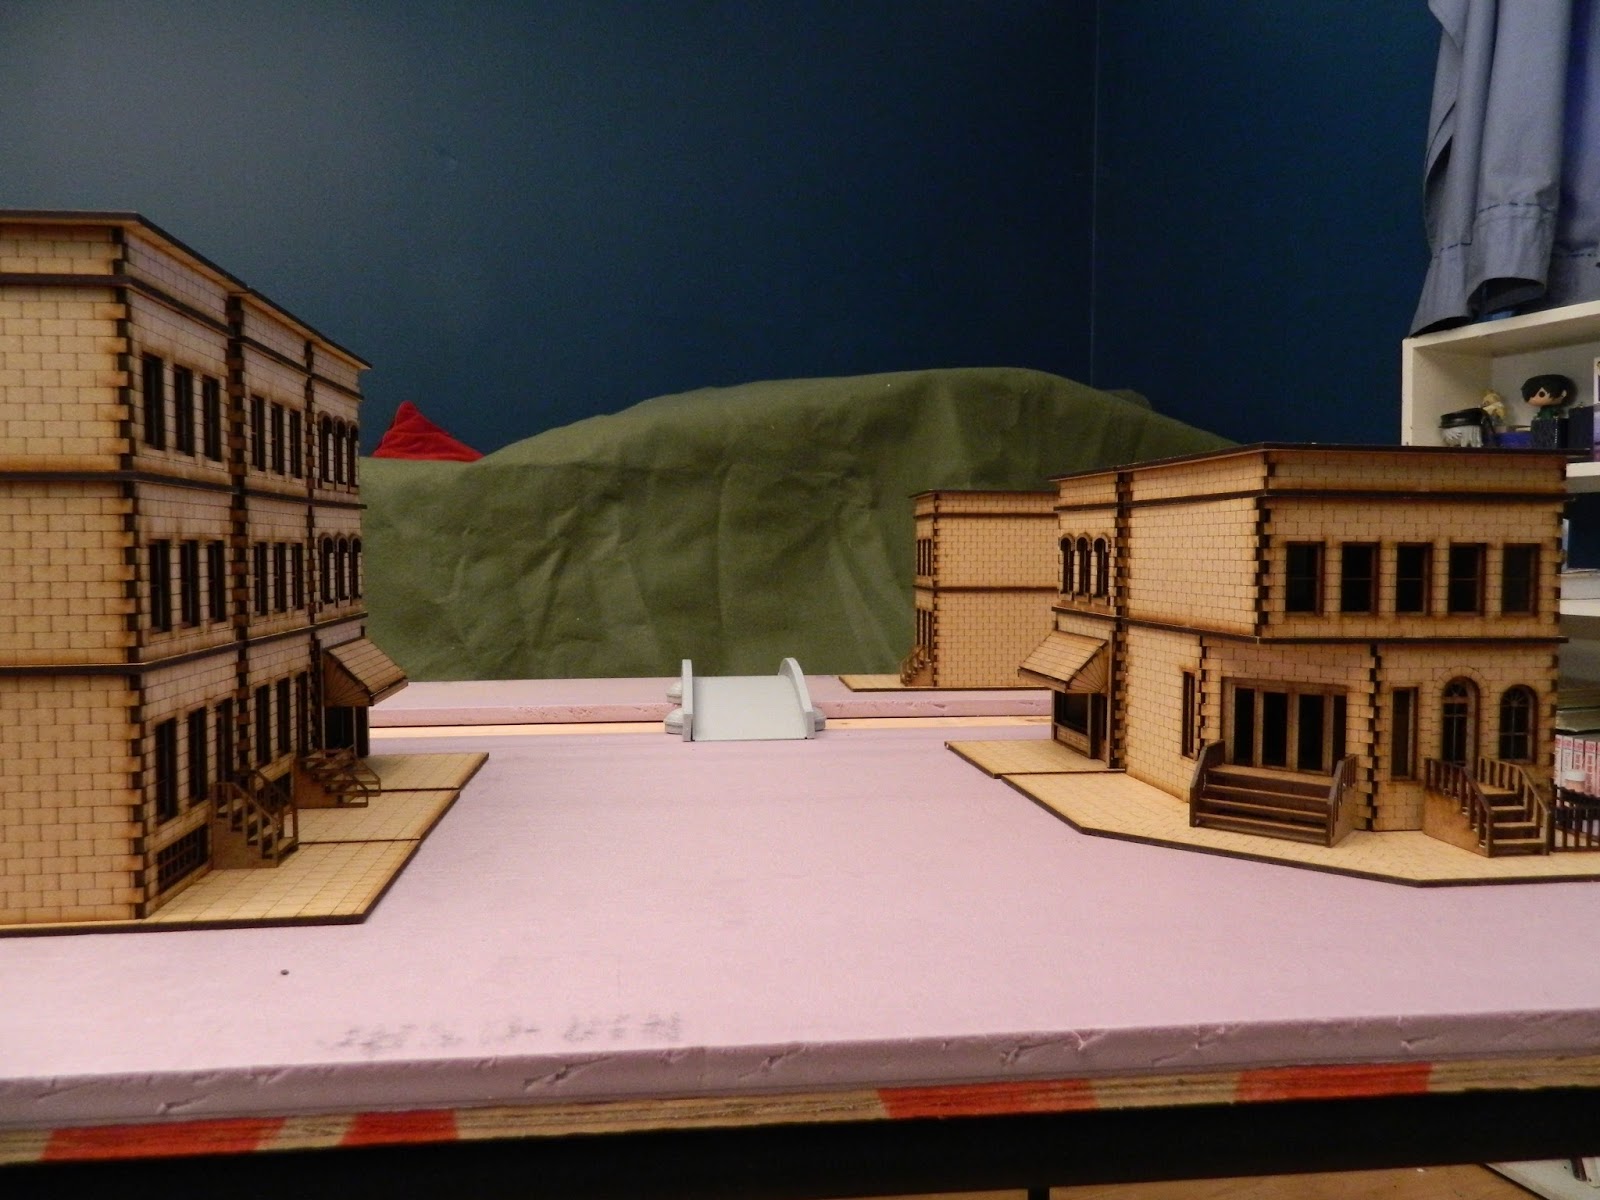
With a deadline of Dec 30th for this table I have to keep picking away at it after work and attempt significant progress over the weekends. I have laid down the foundation for the board: 2.5 cm insulation over 1 cm plywood. The original idea was to have a set of train tracks running from one edge to the other however David had the excellent idea of making it so we could have either a canal or a set of rails. With that in mind I have cut out a section approximately 20 cm in from one board edge; on the removed section of foam I will glue down the tracks and on the plywood I will paint water.
As luck would have it, the weather over the next two days doesn't call for rain and will be warm enough (just barely...) to get a base coat sprayed on the buildings and bridge.
I have also glued all the buildings together. They are assembled in sections: each floor has two walls glued to it and the remaining two walls are glued to each other but remain unglued to the rest. The reason for this is ease of priming and painting. Once the buildings are done each floor remain unglued to the next so that models can be placed inside. The bridge is an Italeri plastic bridge, purchased through Warlord Games. I bought it a while ago but never had a reason to assemble it until now. Great little kit and perfect for this table. Not all the buildings that will be on the table are actually present. I have the Ramshackle Barn from Rendra on the way and I may also pick up a warehouse; I am going for a "the other side of the tracks" look on the slim side of the canal.
Subscribe to:
Posts (Atom)
-
We started a new Pulp Alley campaign yesterday, 3 of us using our favourite leagues: the Yellow Peril, Rodio and the Mandalorians. Set in t...
-
I managed to squeeze a game in with Murdock and his son this afternoon, christening the abandoned airstrip table. An outdoor game on Murdock...
-
You may recall the urban table I made for Trumpeters Salute 2018 ( see here ). The plan was always to be able to replace the canal with a ra...